LC Technology 5V 2 Channel Relay Board - ESPHome

Introduction
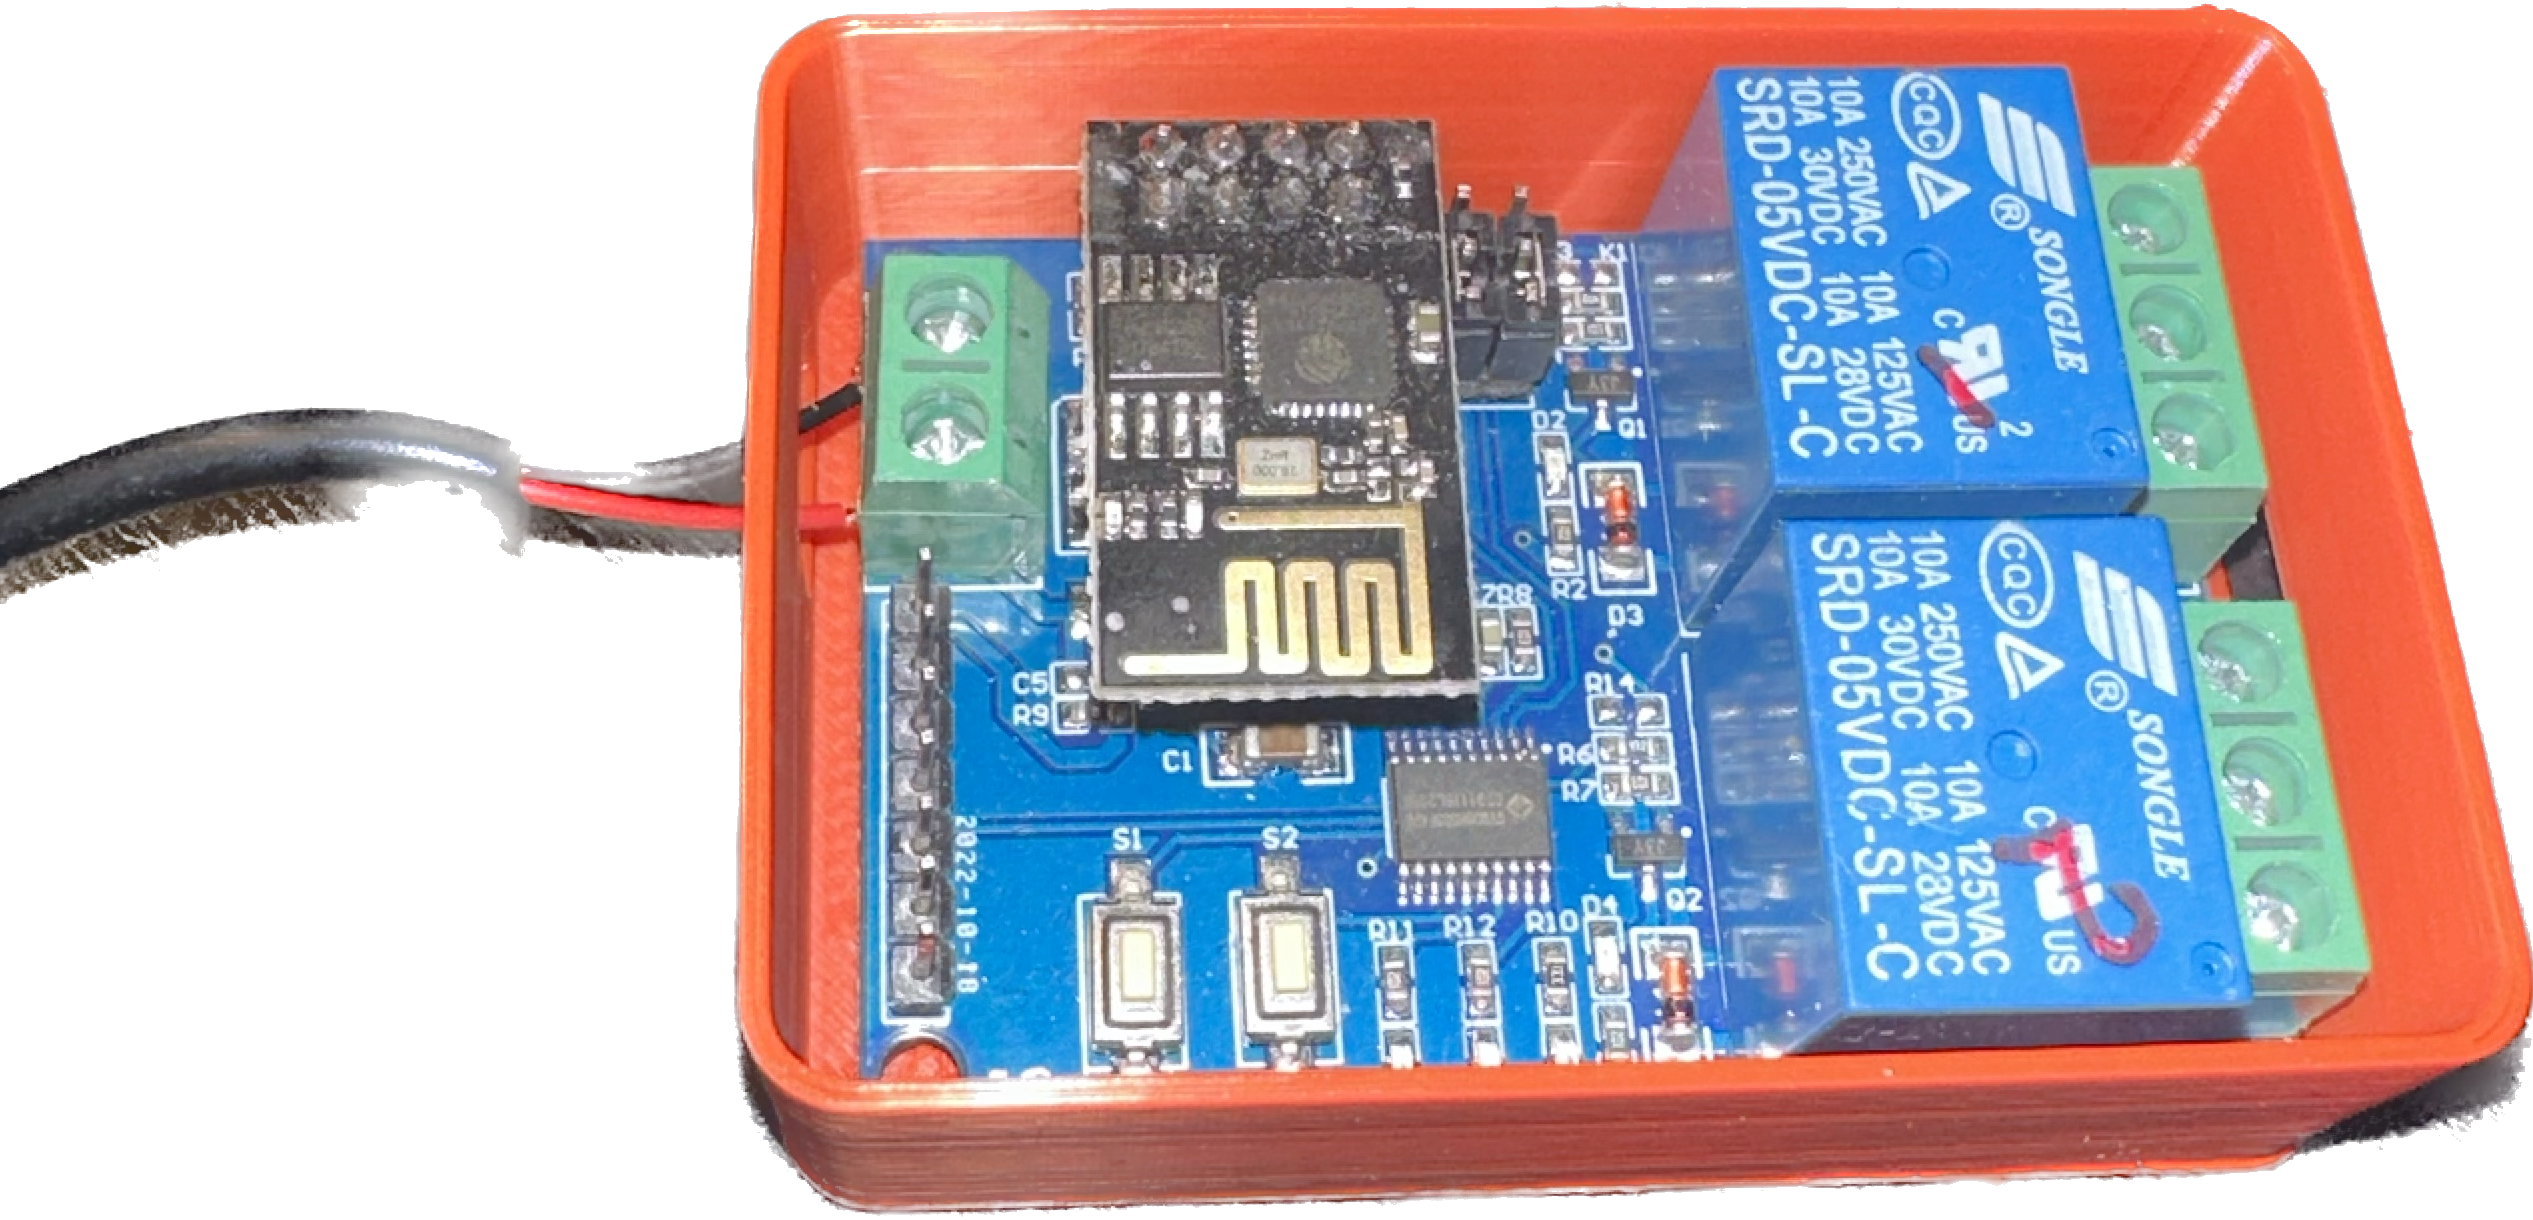
I purchased several of these relay boards from AliExpress due to their low price point and had intended to use them with Home Assistant by either flashing Tasmota or ESPHome.
They contain an removable ESP-01 which is easy enough to reprogram, however the relays are controlled by an onboard N76E003/STM8S003 via serial instead of a traditional relay board which pulls a pin high.
I tried to use the documentation from the Blackadder Tasmota templates directory with no luck. The relays were not responsive.
The Solution
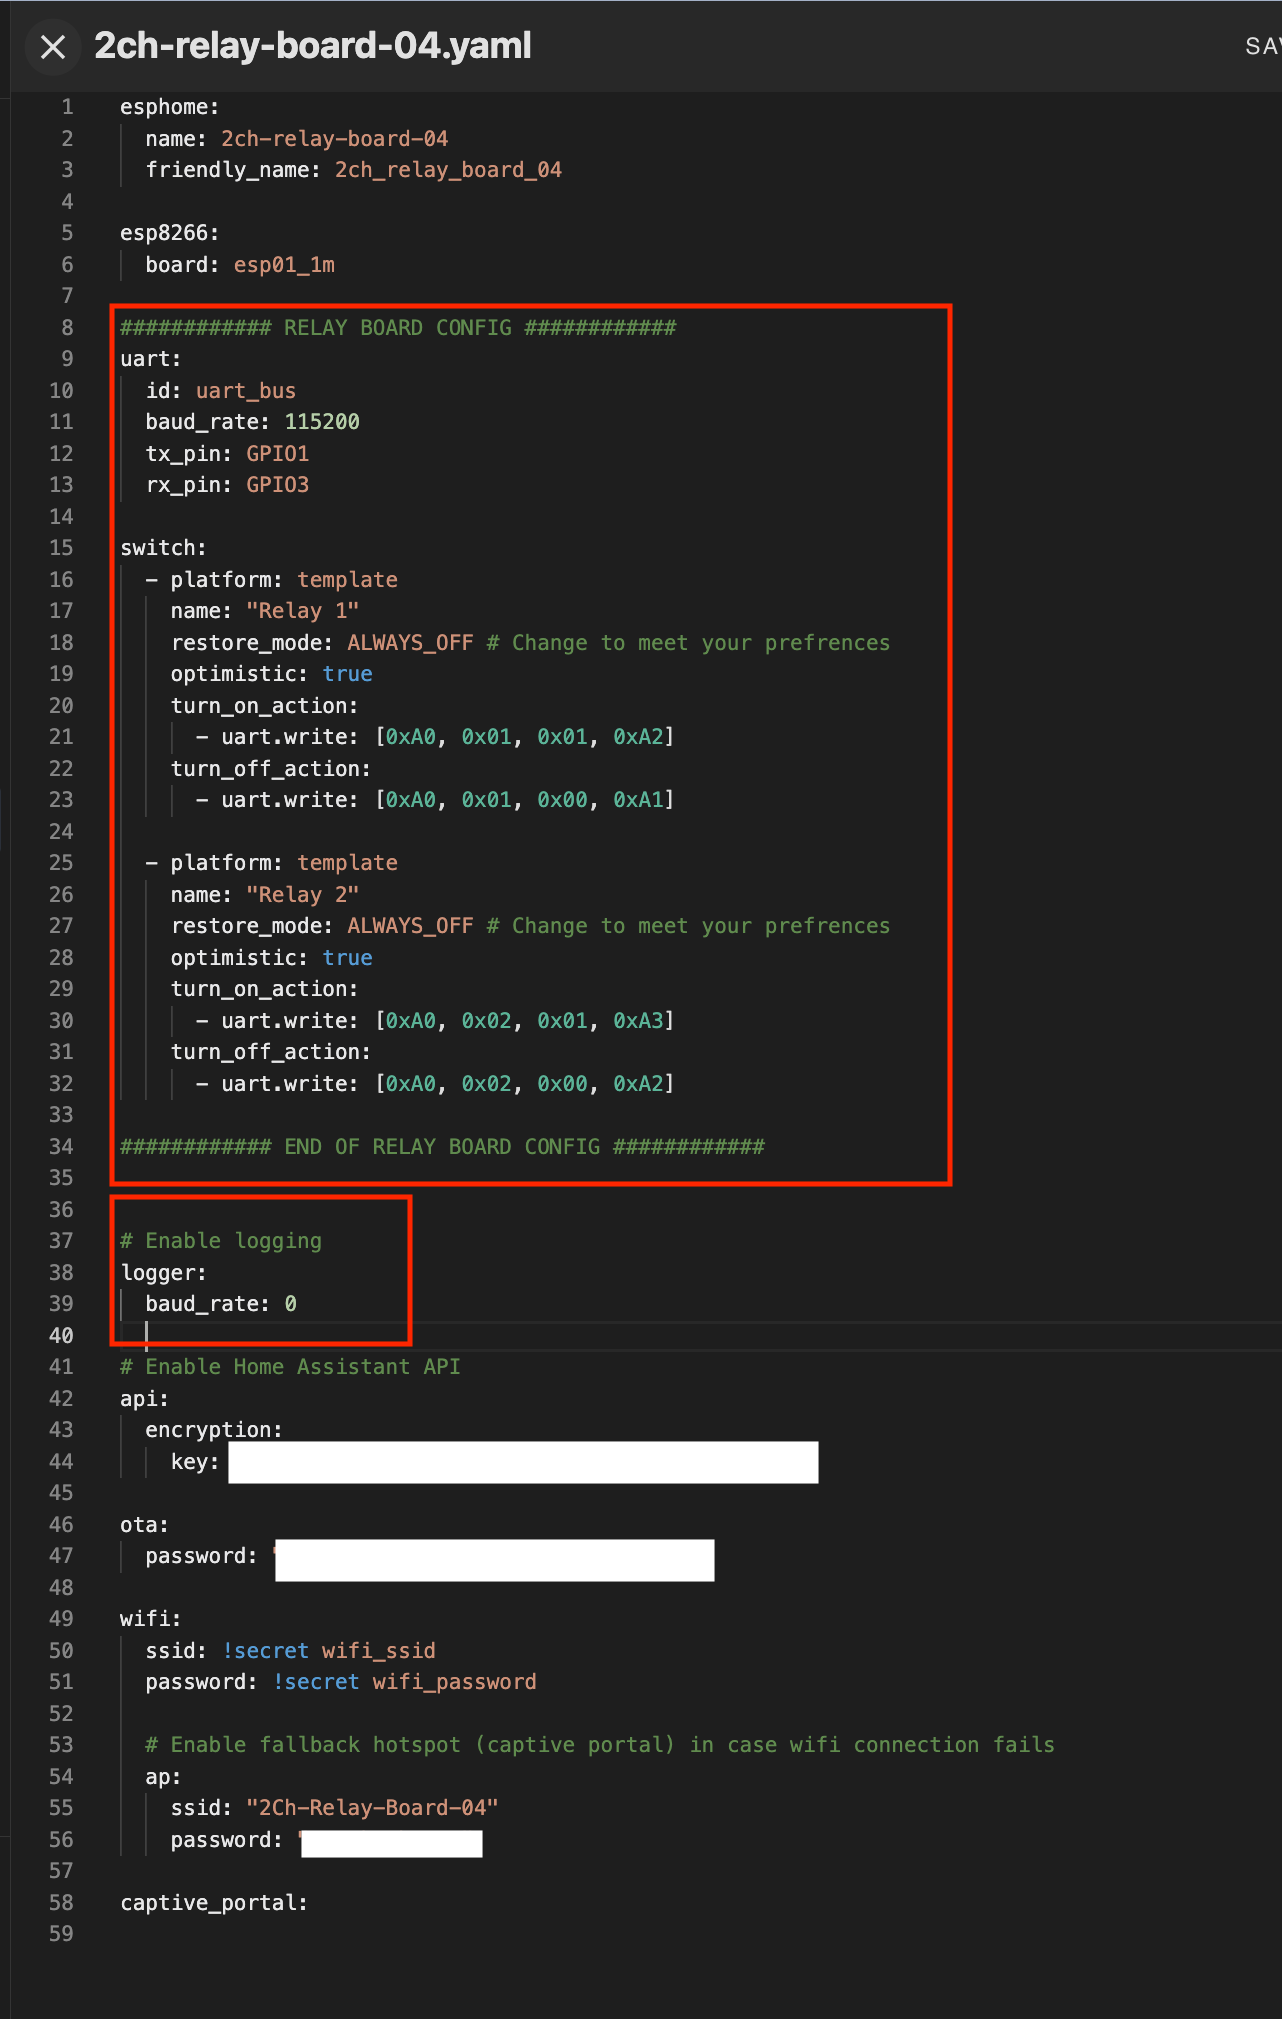
I decided to use ESPHome and its built in UART Bus Component with the documention to create a custom configuration file.
Uploading the Configuration
The following relies on the assumption that you have a configured instance of Home Assistant and the ESPHome Integration Installed.
- Launch Home Assistant in Chrome (this is not required but makes it easier to program the ESSP-01)
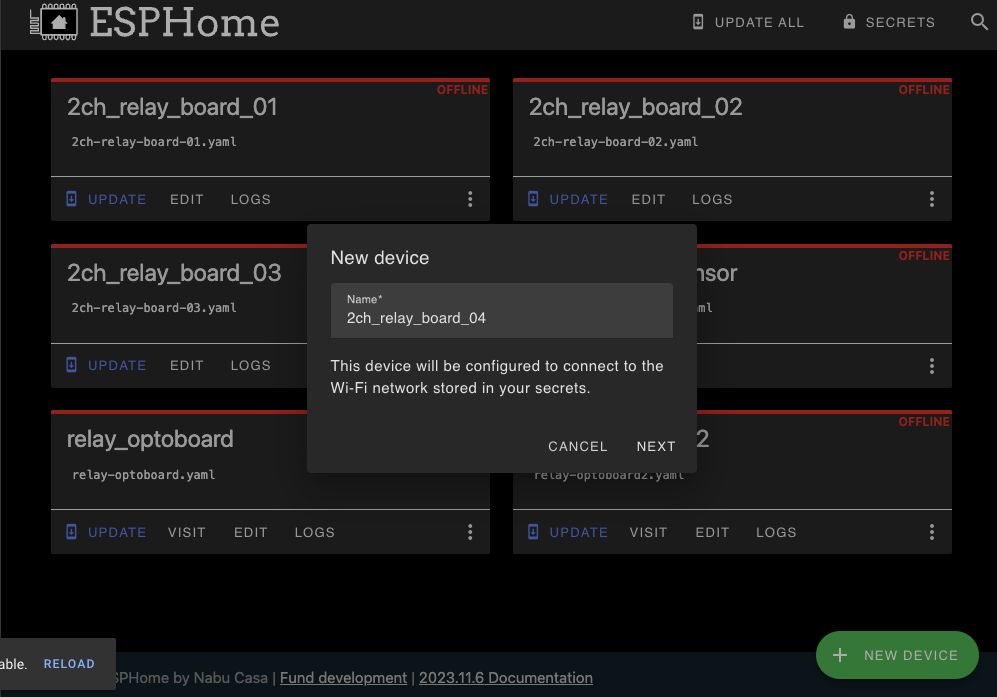
- Open ESPHome in Home Assistant and click New Device
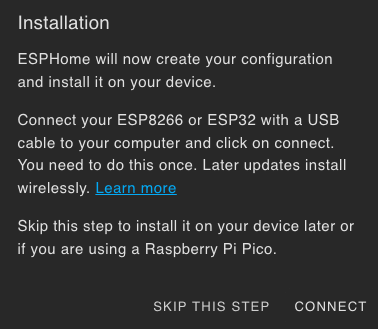
- Plug your programmer and ESP-01 into your computer.
If you're using a cheap programmer you will need to briefly connect GPIO0 to ground in order to be able to program the board.
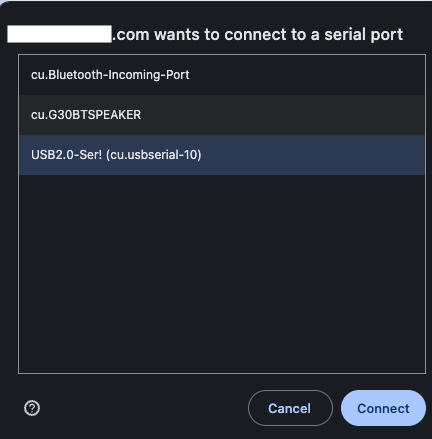
4. Click Connect and select the board from the menu that appears. Will likely appear as 'USB2.0 to Serial' or something similar.
-
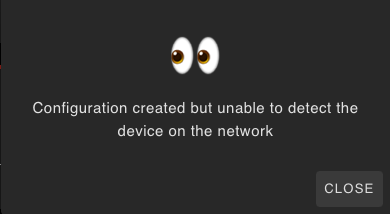
Allow the board to be programmed, once completed you will see a message. If you get the error message I get you can try disconnecting the programmer and connecting it to power again.
-
Once the board appears online, click edit and add the highlighted portions of code from my github configuration

-
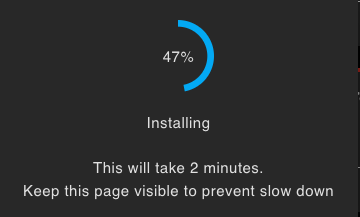
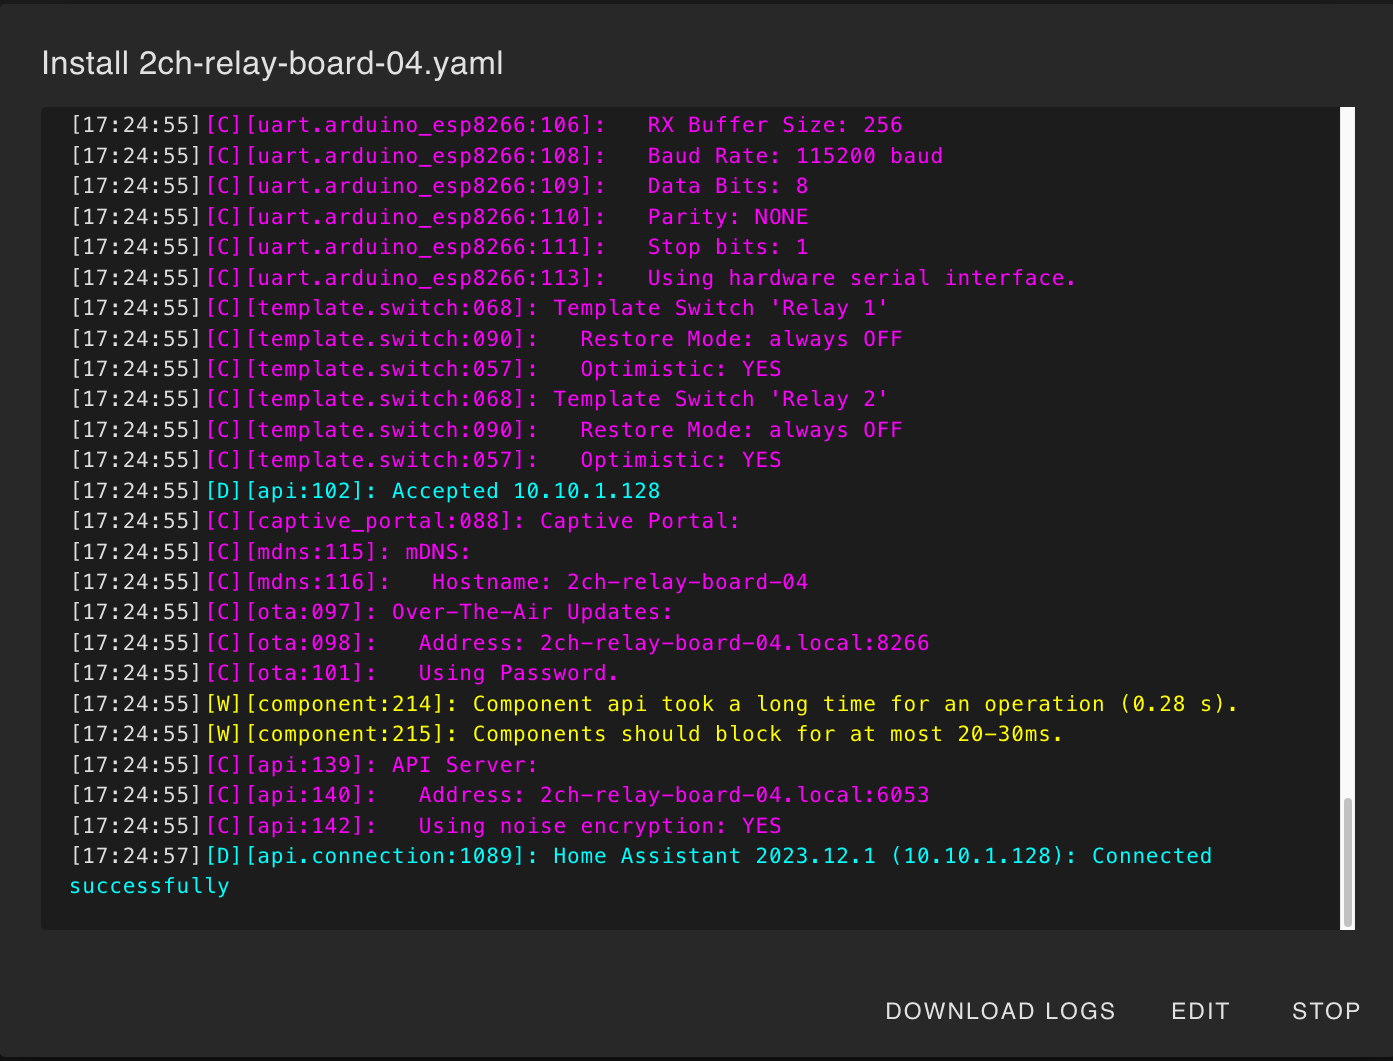
Save and Click Install (I recommend Wirelessly), wait for the install to finish
-
Once the programming is done, remove the ESP-01 from the programmer and place it in the relay board
-
Power up the relay board
-
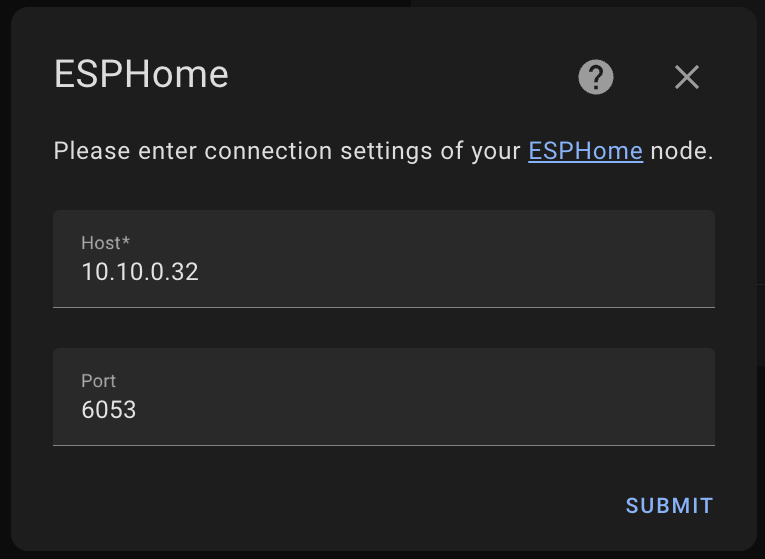
Navigate to Integrations in Home assistant, if the doesn't show up in auto discovery, add it manually with the IP Address
-
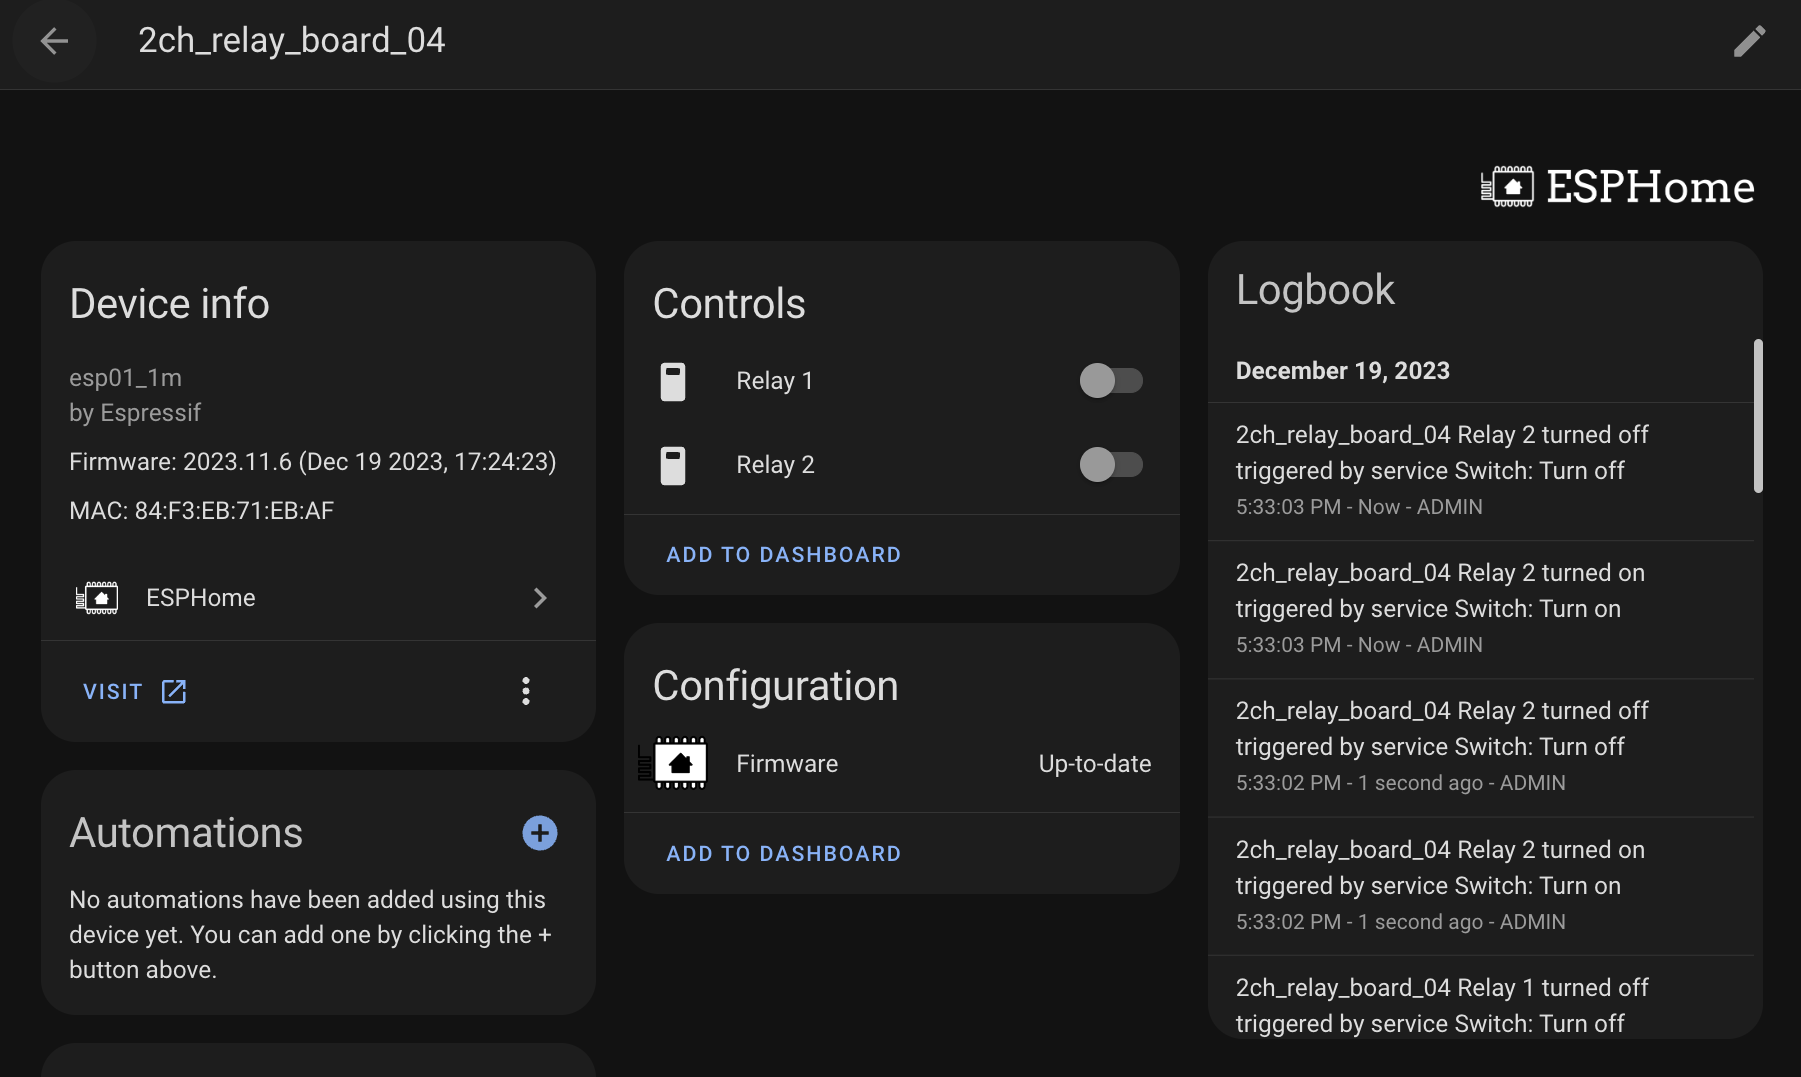
Test it out
Verify that the functions work correctly
Extras: 3D Printed Case
On Thingiverse I found ESP-01 Dual Relay Housing Box by travio. This case works quite well. Depending on your 3d printer you may need to scale down the dimensions of the lid to ensure a snug fit.